


1/1


Share:
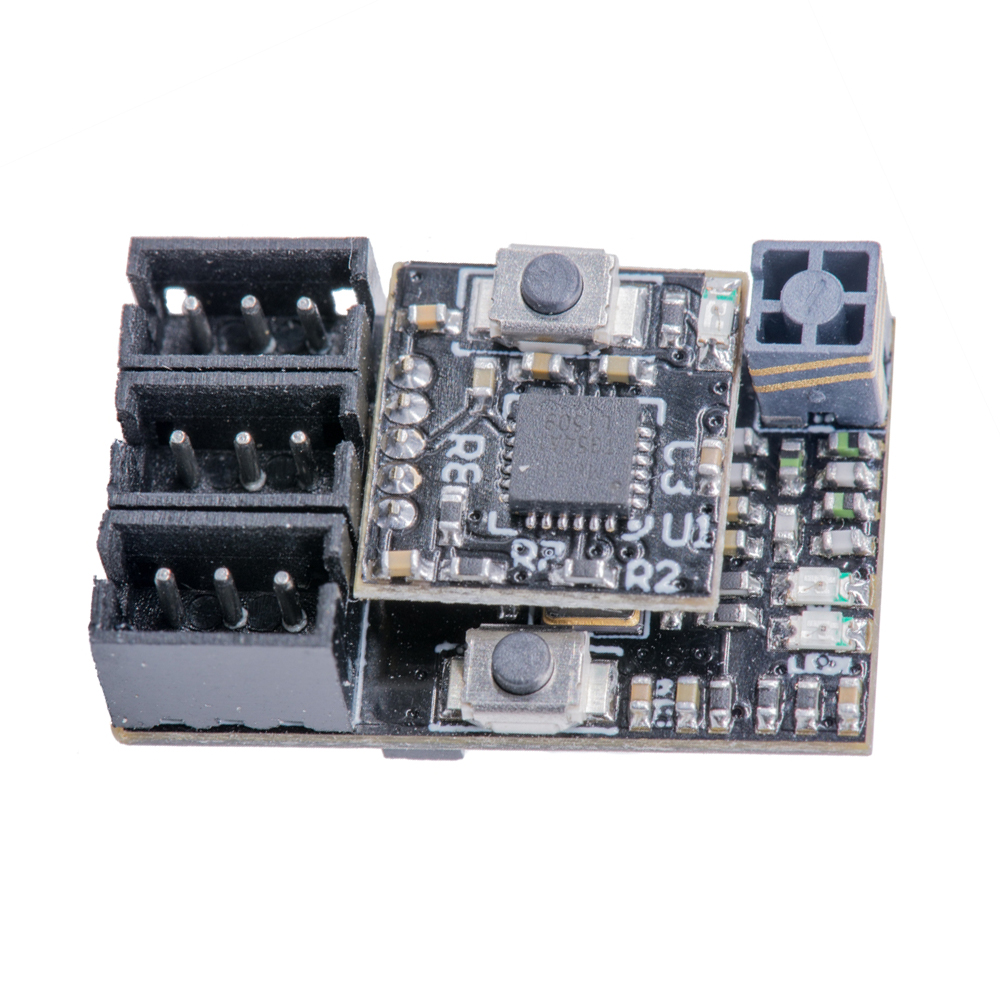
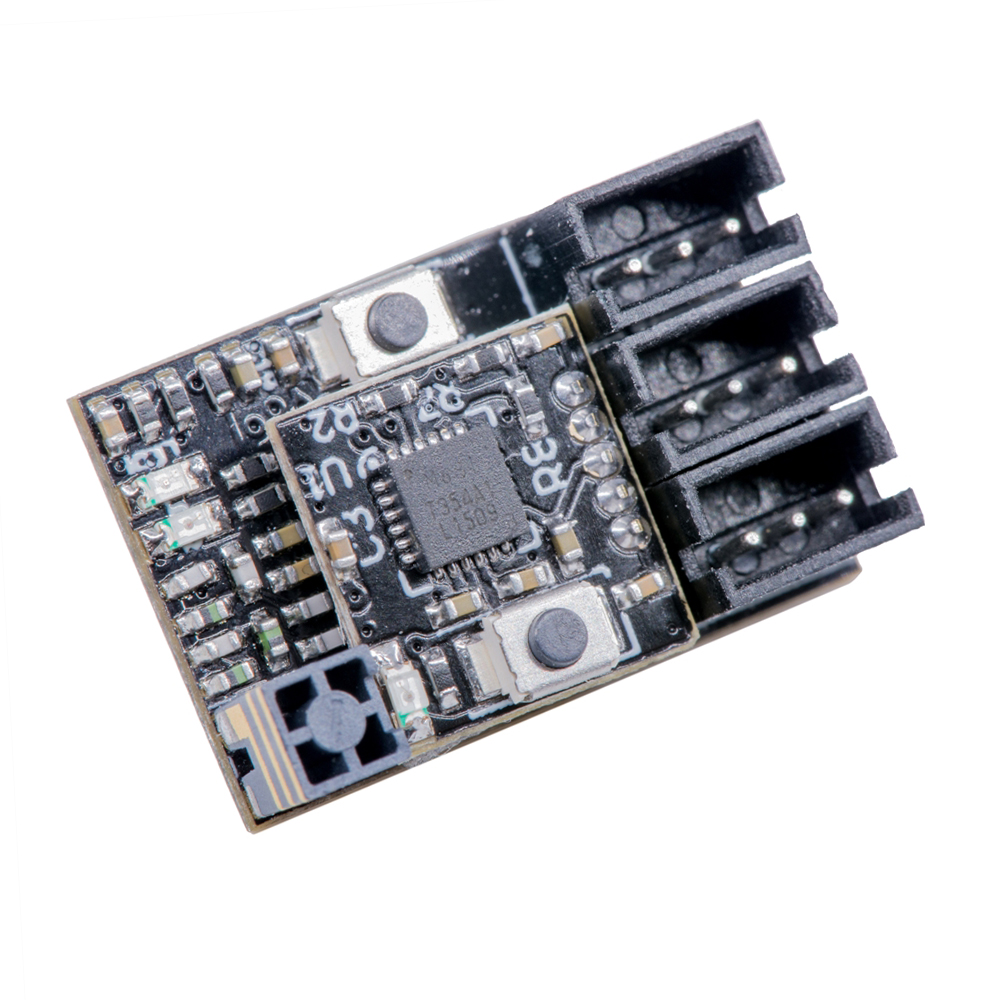
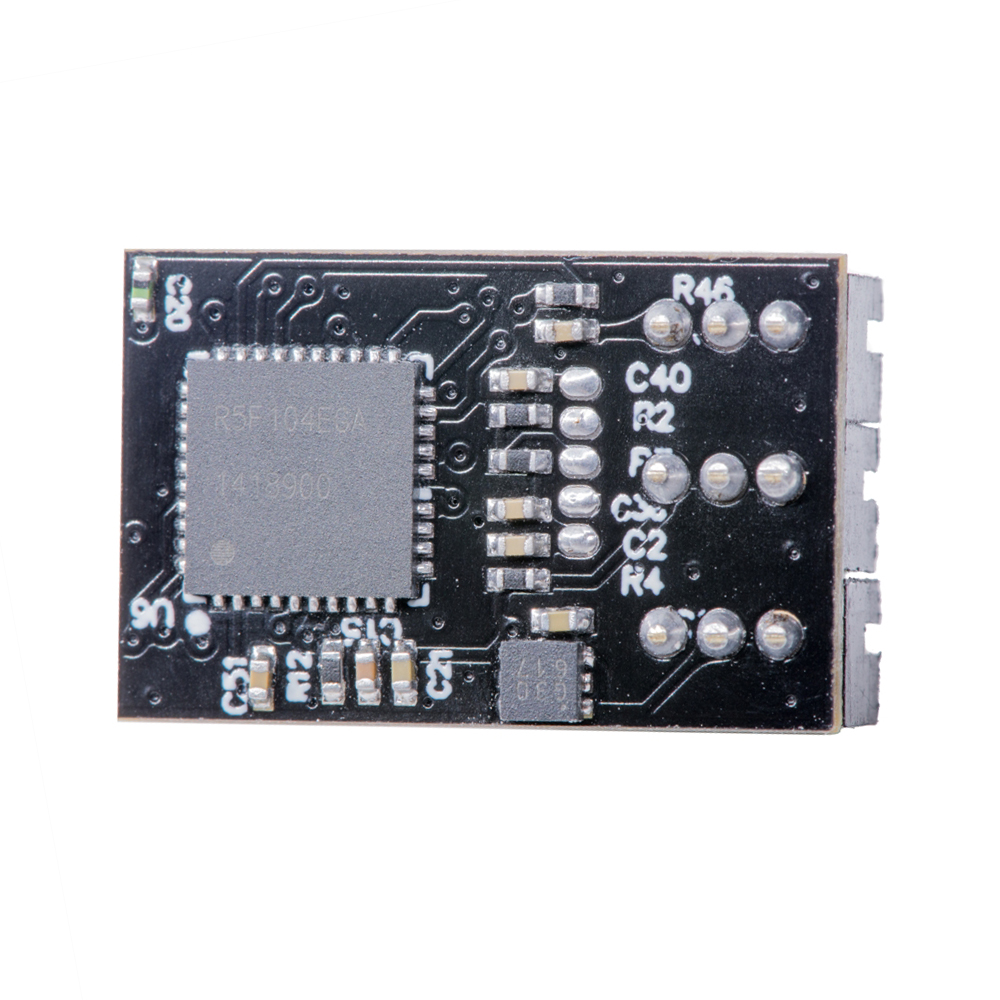
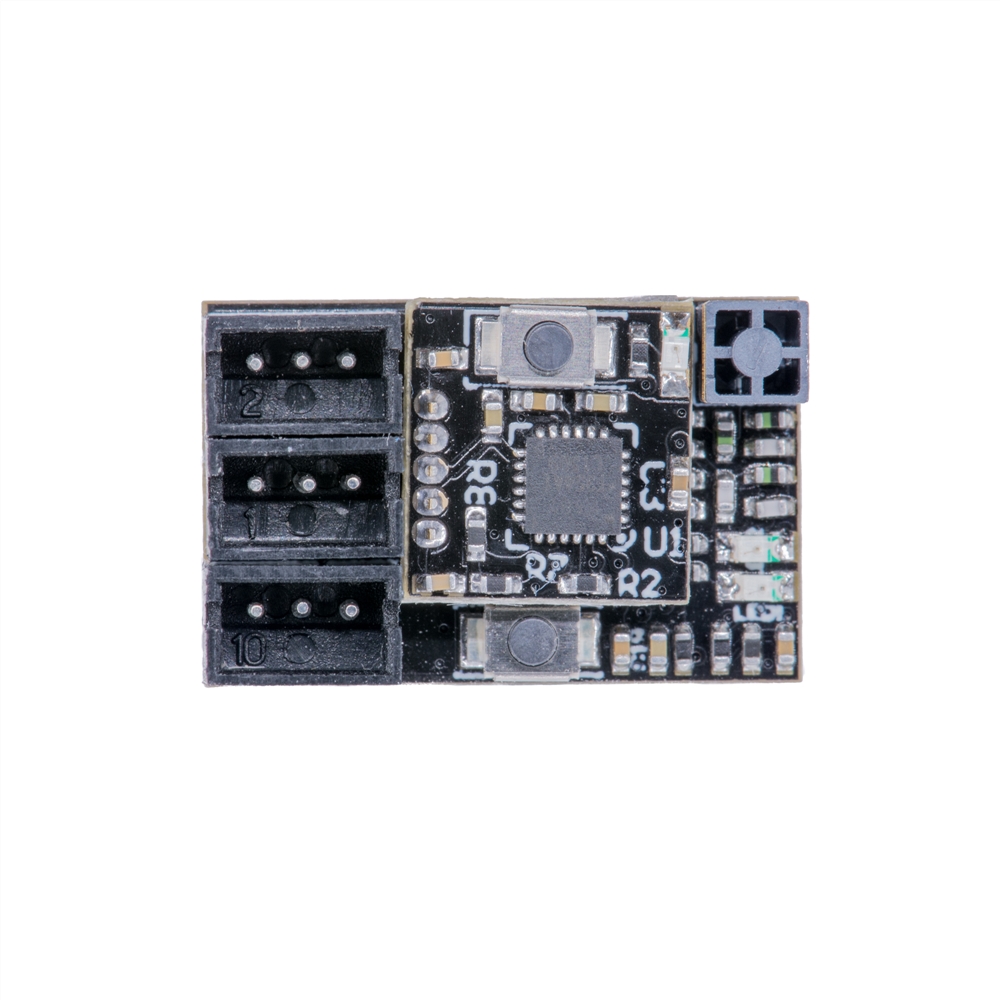
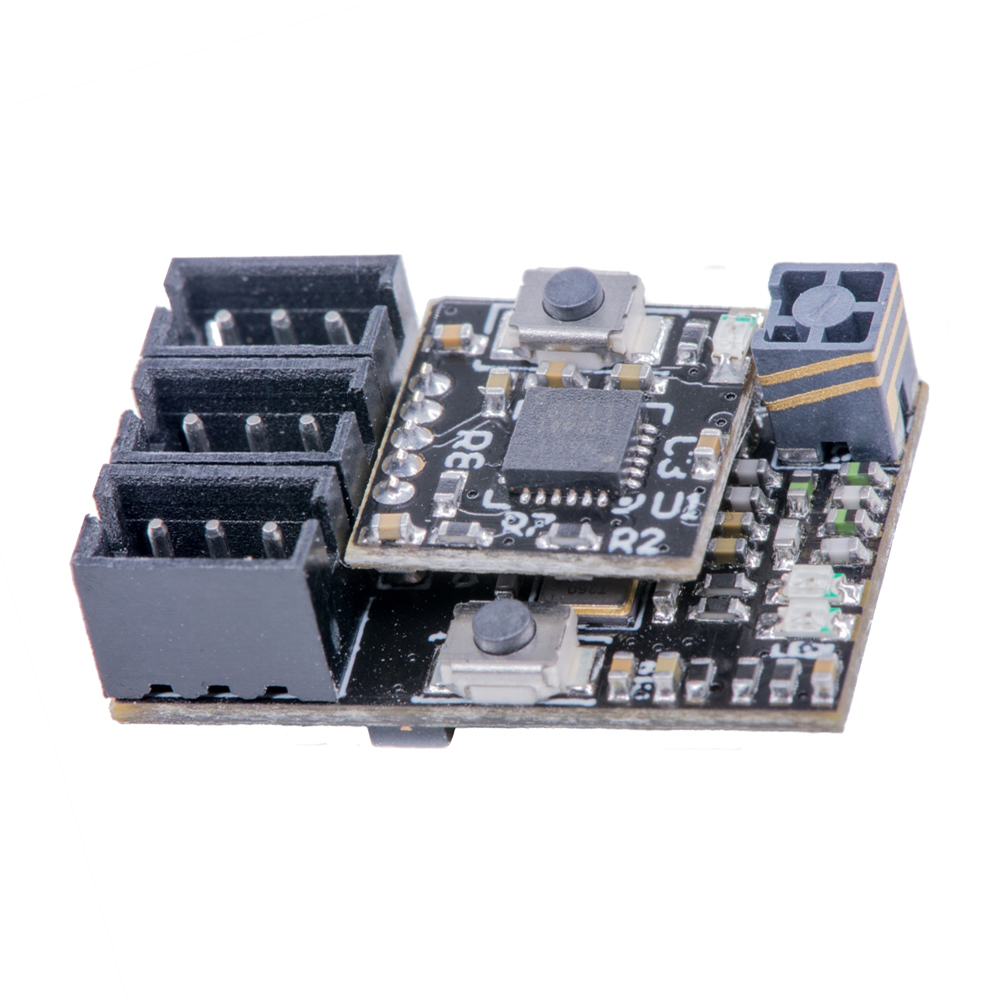
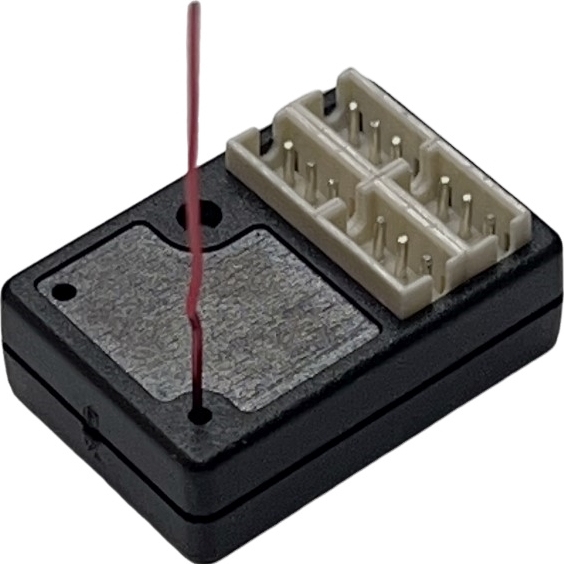
GT55Racing FUTABA T-FHSS TOWER ANTENNA GYRO RECEIVER V5 DSK-504B
SKU: DSK-504B
(0)
28 Sold
$56.90
$59.90
After successful binding
Please read the gyro setup instructions carefully and pay attention to the video demonstration
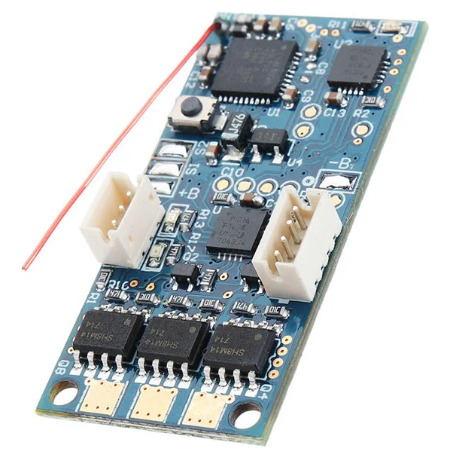
All gyro receivers have the same setup method and use the GT55 chip
Video demonstration link
Please read the gyro setup instructions carefully and pay attention to the video demonstration
All gyro receivers have the same setup method and use the GT55 chip
Video demonstration link
1/1