Binding:
1. Turn on the transmitter, enter FH5 and enter binding mode (searching for receiver).
2. Press and hold the BIND button on the receiver, then turn on the power (keep pressing the BIND button until you see the LED change from slow flashing to fast flashing).
3. The LED will change from slow flashing blue to fast flashing blue, release the BIND button to confirm that the binding on the transmitter is complete. (The receiver LED will now turn blue and stay on).
Note:
If the LED does not enter fast flashing mode when binding, move the transmitter of the remote control close to the antenna position (almost completely close to the antenna position, the LED will enter fast mode)
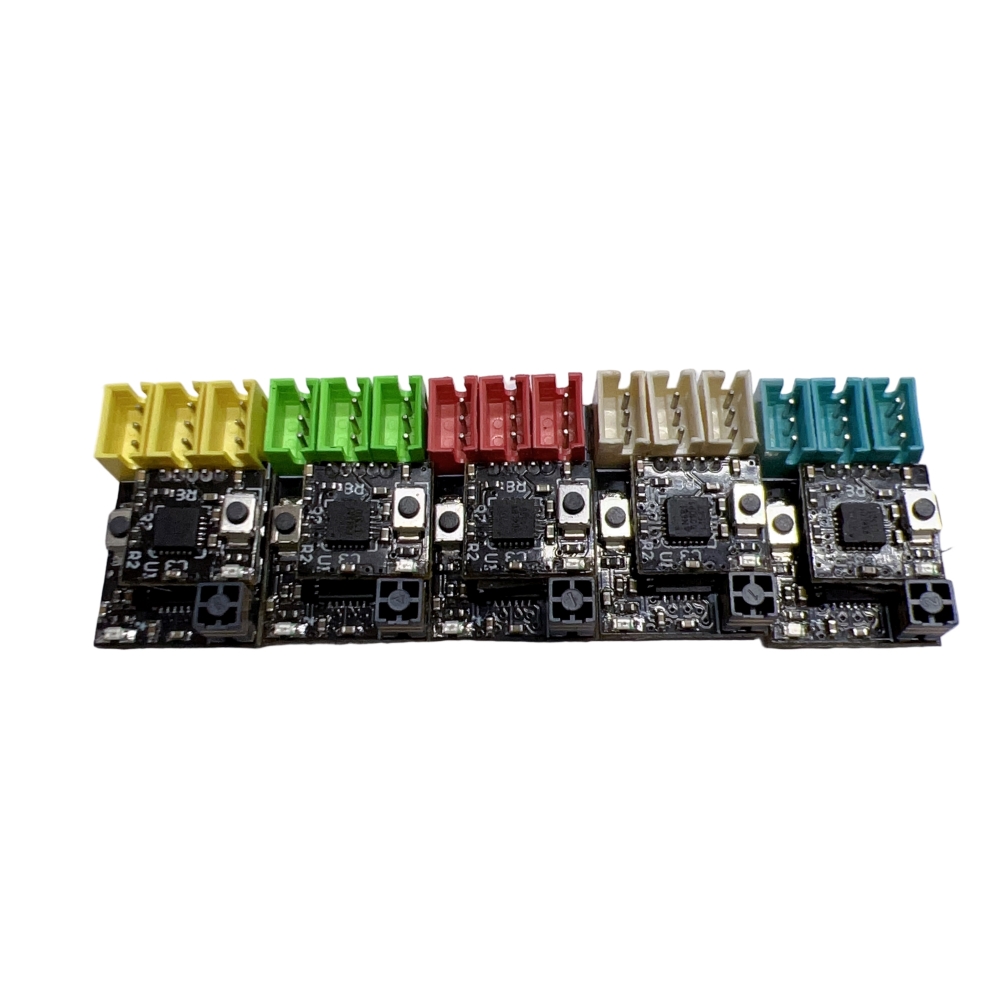
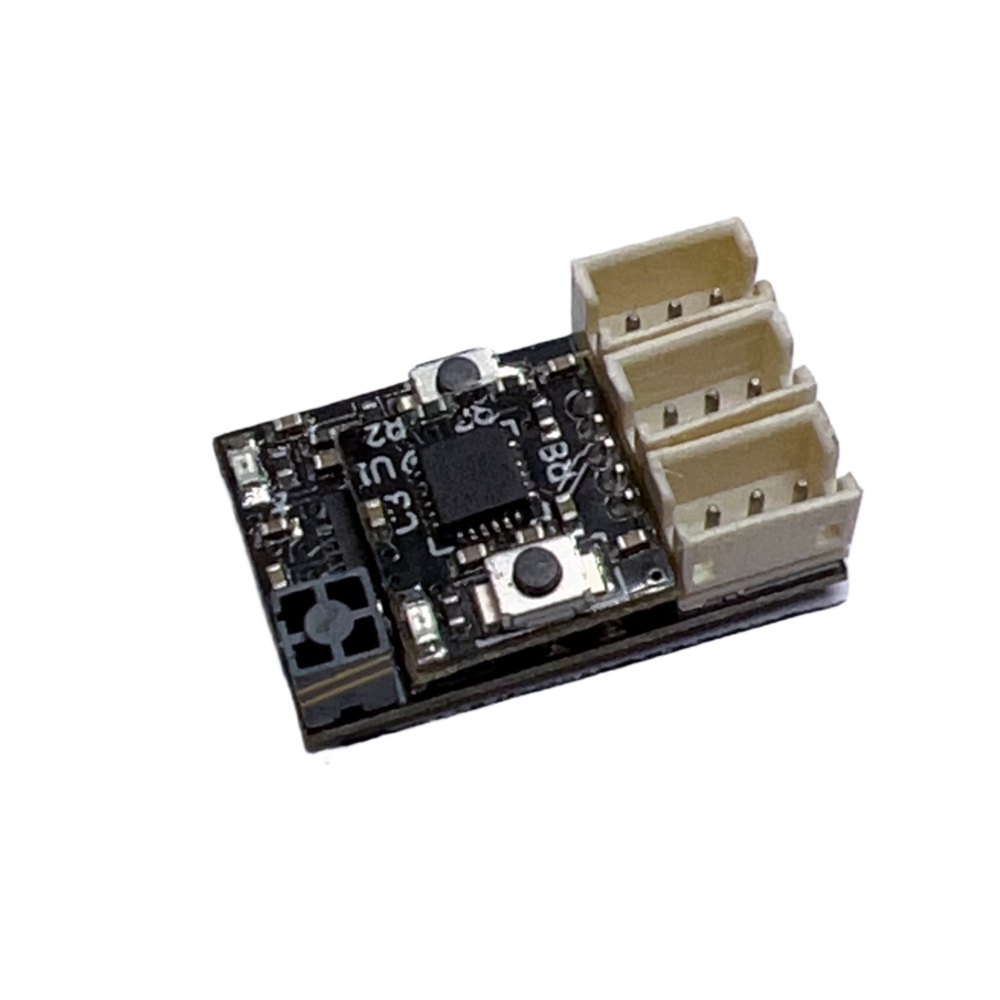
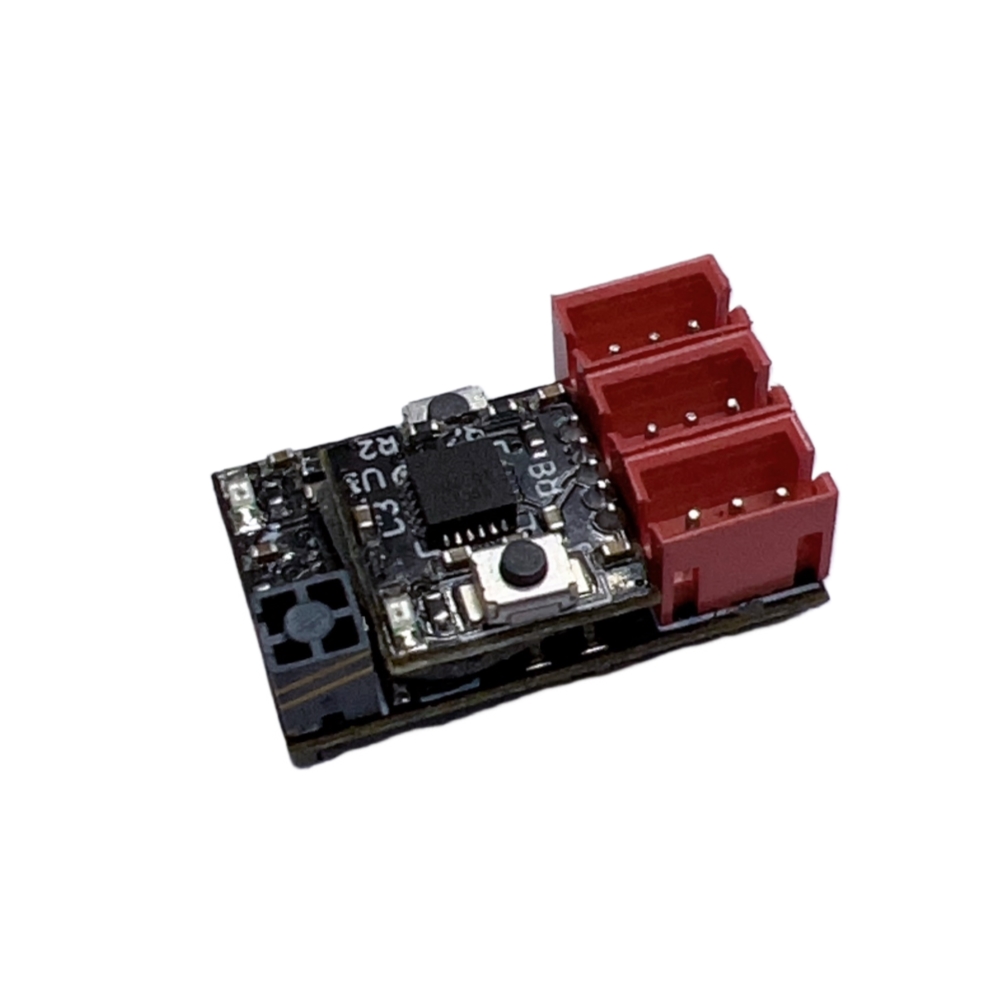
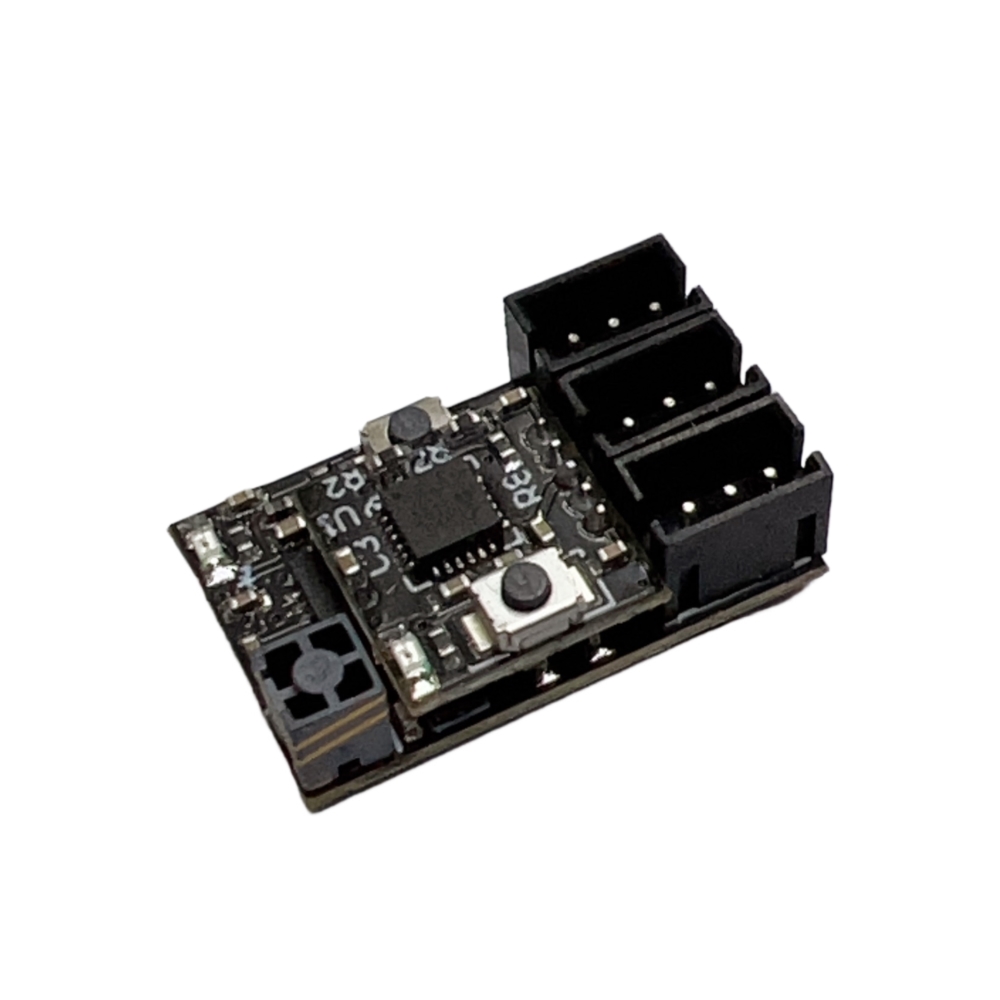
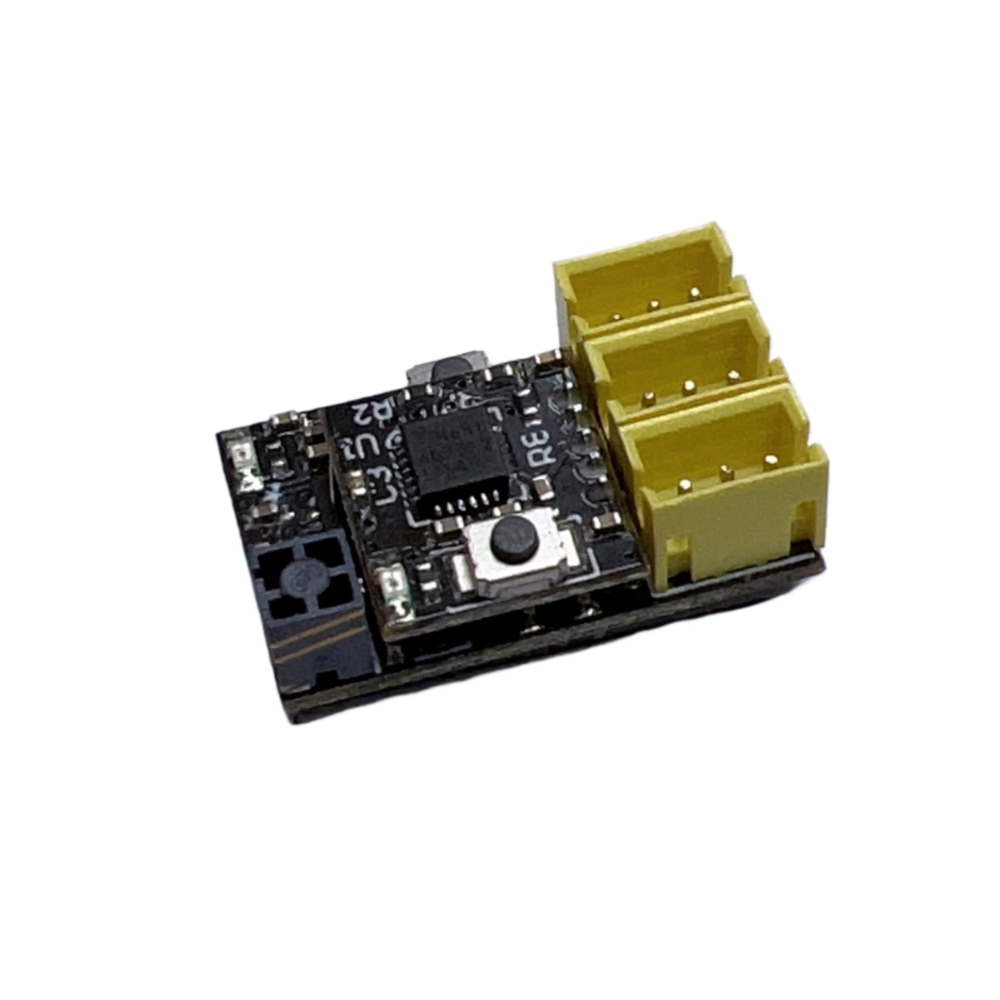
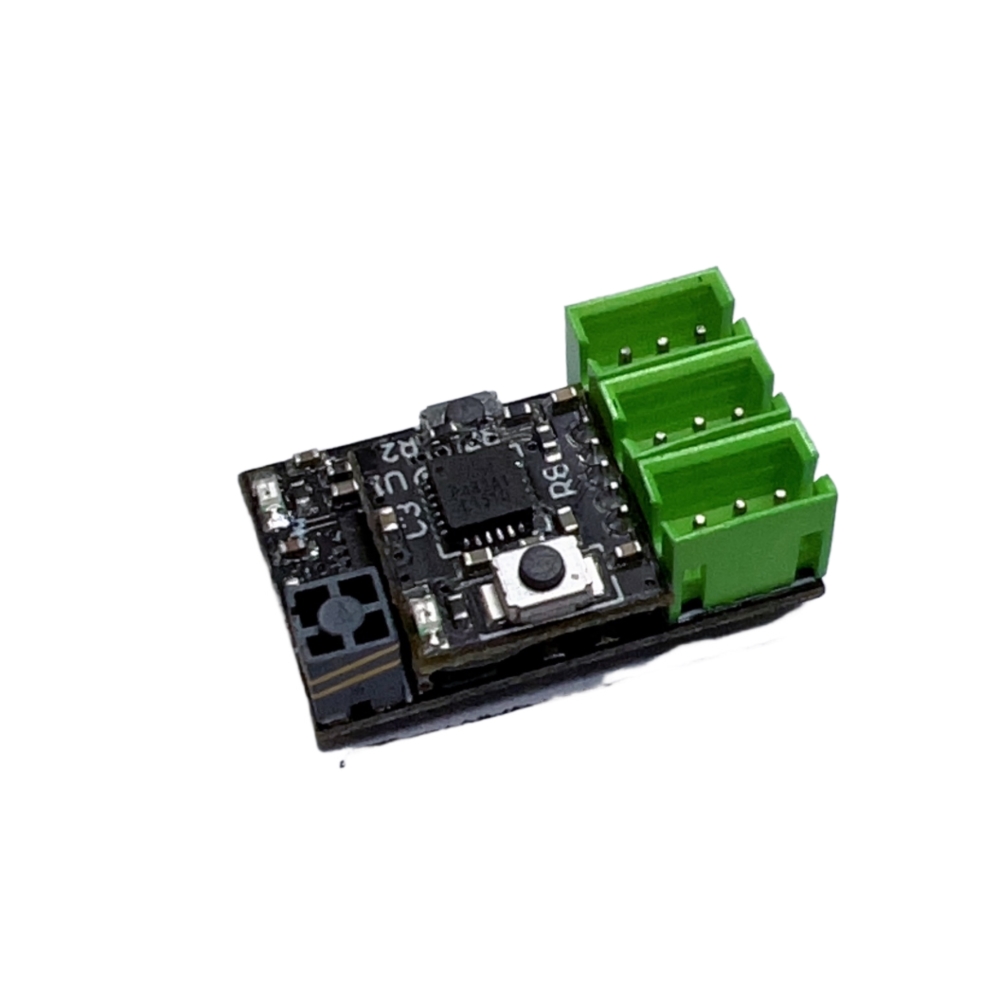
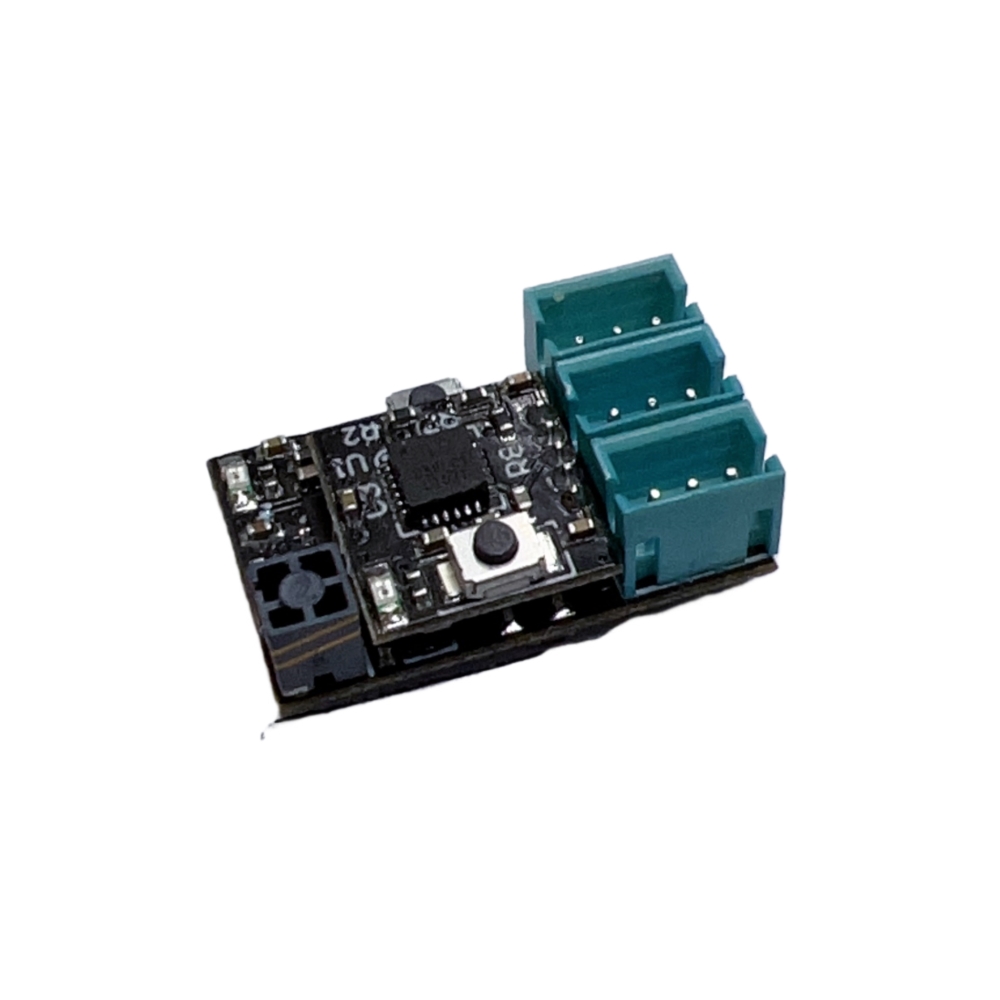
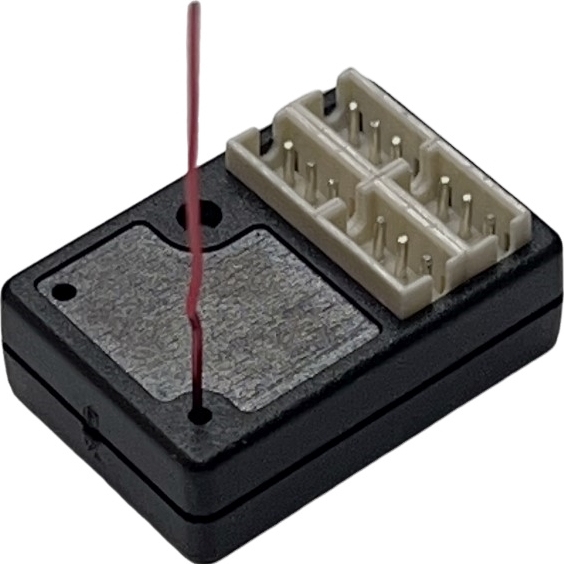
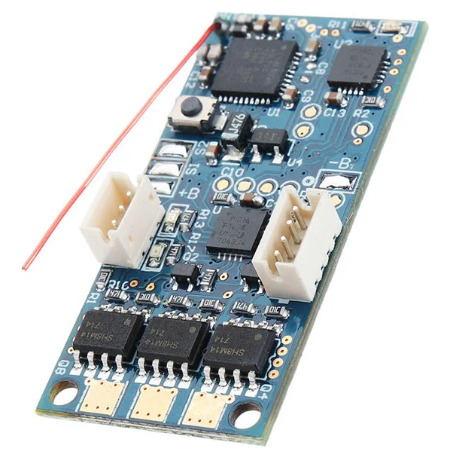
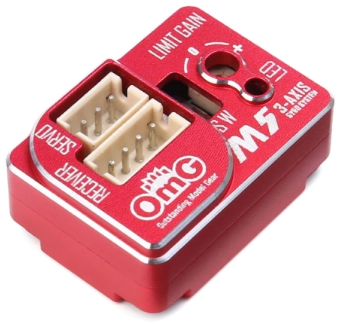
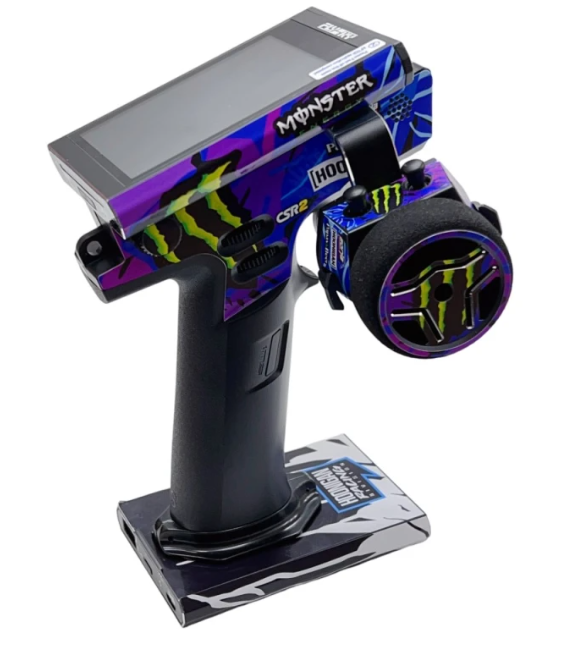
Description:DSK-801 2.4GHz 4-Channel FHSS5 SSL Telemetry Receiver uses a tower antenna with exceptional range and response time. With a lightweight design and a small footprint, this receiver is great for Mini-z scale electric RC cars. Features:1. Sanwa 2.4GHz FHSS5U/FHSS5 Spread Spectrum System compatible2. Compatible with SSL (SUPER VORTEX Series, etc...)3. Ultra Response Mode (SUR)4. Extreme Response Mode (SXR)5. Dual ID system (able to bind with 2 transmitters)6. Micro size (19mm x 12 mm)7. Operating Voltage 3.5V - 8.4V8. Weight: 3g Indicator Function compatible:Indicator function can be checked signal strength connected transmitter. The indicator function can be used for finding problems as incorrect receiver placing and finding the best receiver position for transmitter. Indicator function can be checked signal strength without any effect with response. NOTE:RPM sensor (SNW107A41061A) and temperature sensor are not compatibleRPM and temperature telemetry are only capable with the Sanwa Super Vortex seriesFH5U RF mode is not capable to use telemetrySXR response mode is only compatible with transmitter M17. Compatible Transmitters:Sanwa M17Sanwa MT-5Sanwa MT-R Package Included:1 x Receiver Wiring method:Instructions:Receiver: Connect to receiver servo channel (GYRO); ESC (CH2)Pay attention to the operation. Please set it after the receiver is successfully bound.Gyro sensitivity is controlled by CH3 value and can be adjusted on the transmitter. When CH3 value is 0%, sensitivity is zero. Adjust CH3 value to -100% or 100% to achieve 100% sensitivity. Adjusting CH3 value to -100% or adjusting CH3 value to 100% will have different sensitivity curves. GYRO provides 2 different optimized sensitivity curves for drift.-100%-0% is sensitivity sensitivity,0%-100% is relaxation sensitivity.GYRO provides 2 different optimized sensitivity curves for drift.1. (-100 to 0 master mode) The reaction speed is extremely fast, not suitable for novices.2. (0 to +100 normal mode) The reaction speed is moderate, the preferred mode, we recommend this mode.We recommend adjusting the CH3 stroke sensitivity to (between 35% and 60%)About gyro EPA adjustmentFirst adjust the EPA value you need on the transmitter (left and right turn).EPA (forward) setting:1. Gyro forward settingFirst press the gyro "SETUP" button, then turn on the ESC power switch.The gyro LED will (first flash once → then flash slowly → flash quickly → then flash slowly) at this time release the setting key (after the slow flash, you can wait for 2 seconds before releasing it to ensure that you enter the setting mode).First turn the remote control to the left "EPA" position (turn to the far left), stay for a few seconds, when the gyro saves the left "EPA" position, the servo automatically returns to the middle position.Then turn the remote control to the right "EPA" position (turn to the far right), stay for a few seconds, when the gyro saves the right "EPA" position, the servo automatically returns to the middle position, and you're done.2. Reverse setting of gyroPress the gyro "SETUP" button first, then turn on the ESC power switch.The gyro LED will (flash once → slow flash → fast flash → slow flash again), release the setting button at this time (you can wait 2 seconds after the slow flash before releasing it to ensure that you enter the setting mode)First turn the remote control to the right "EPA" position (turn to the rightmost end), stay for a few seconds, when the gyro saves the right "EPA" position, the servo automatically returns to the middle position.Then turn the remote control to the left "EPA" position (turn to the leftmost end) and stay for a few seconds. When the gyro saves the left "EPA" position, the servo automatically returns to the middle position, and the setting is completedIt is recommended to adjust the CH3 stroke sensitivity to (between 35% and 60%)
Resetting the GT55 Gyro:If the servo is jittering and the gyro is not functioning properly:Press and hold the gyro's "SETUP" button, then turn on the ESC power switch.The red LED will flash, then flash rapidly, and finally flash slowly until it stays lit (hold the button for about 40 to 60 seconds).Turn off the ESC power and then turn it back on. The gyro will reset and restart.